Wet sanding gives you smooth paint, clean clear coat, and silky wood finishes. Waterproof sandpaper lets you get professional results at home. This guide shows you how to wet sand, which grit to pick, and which mistakes to avoid.
What Is Wet Sanding?
Wet sanding means sanding a surface while it stays wet. The water works as a lubricant. It flushes away debris and stops the paper from clogging.
Because of this, wet sanding leaves a finer, more even scratch pattern than dry sanding. It is popular for car paint correction, clear coat repair, wood finishing, and plastic restoration.
Wet Sanding vs Dry Sanding
Dry sanding removes material fast, but it creates dust and deeper scratches. Wet sanding is slower, so you get more control. Use dry sanding for heavy stripping and shaping.
Choose wet sanding for final leveling, scratch removal, and polish prep. It also keeps dust out of the air, which makes the job cleaner and safer.
When Should You Wet Sand?
Wet sanding fixes many common paint problems:
- Orange peel texture
- Dust nibs and small paint runs
- Light scratches and swirl marks
- Dull or oxidized clear coat
Do not use it on deep scratches that expose primer or metal. Those need a repaint. Wet sanding cannot fix damage below the clear coat.
Why Use Waterproof Sandpaper?
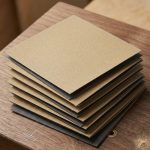
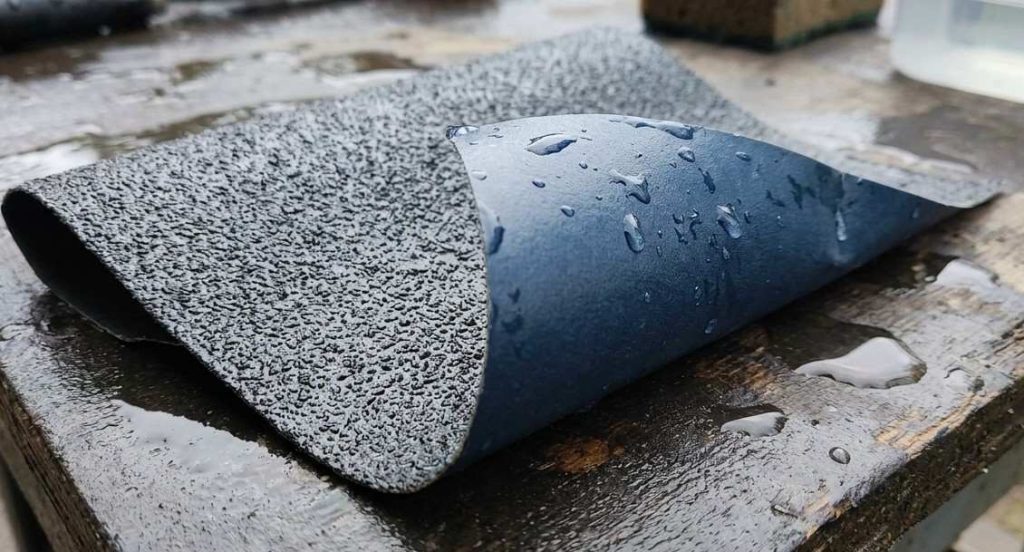
Waterproof sandpaper is essential for many finishing jobs. Regular sandpaper falls apart when it gets wet. Waterproof abrasive paper has a water-resistant latex or kraft paper backing bonded with resin and silicon carbide or aluminum oxide grains. This lets it hold up under water without tearing or losing grip.
Look for waterproof sandpaper sheets labeled “wet or dry.” Some shops call it water sandpaper. It costs little, so buy extra in each grit.
Tools and Materials You Need
Gather these supplies before you start:
- Waterproof sandpaper in 1000, 1500, 2000, and 3000 grit
- Spray bottle or bucket of clean water
- Soft rubber sanding block
- A few drops of car shampoo
- Microfiber towels
- Masking tape
- Rubbing compound and polish
Best Grit for Wet Sanding
The right wet sanding grit matters most. Start too coarse and you create scratches that are hard to remove. Start too fine and nothing changes.
For car paint, most people begin with 1500 grit to level orange peel or light defects. Then move to 2000 grit and finish with 3000 grit before polishing. For deeper scratches, start at 1000 grit, but use light pressure.
How to Wet Sand Step by Step
Follow these steps in order:
- Clean the surface. Wash and dry the area. Dirt under the paper causes deep scratches. Tape off edges and sharp body lines.
- Soak the sandpaper. Place it in clean water for 15 minutes. A drop of shampoo helps it glide.
- Wrap it around a block. A soft rubber block spreads pressure evenly. It also prevents finger marks.
- Sand with light pressure. Keep the surface wet at all times. Sand in straight, overlapping lines and let the paper do the work.
- Wipe and check. Dry a small spot every few passes. The surface should look evenly dull. Shiny spots are low areas that need more sanding.
- Move up through the grits. Repeat with 2000 grit, then 3000 grit. Change direction each time so you can see old scratches disappear.
- Compound and polish. Remove the haze with rubbing compound. Then polish and add wax or sealant.
How to Wet Sand Car Paint Safely
Car paint is thin. Modern clear coat is often only about two mils thick, thinner than a human hair. One heavy pass can cut right through it.
Never wet sand fresh paint until it has fully cured. Avoid edges and body lines, where paint wears through fast. If you are new to wet sanding car paint, practice on a scrap panel first.
How to Polish After Wet Sanding
Wet sanding leaves a dull, hazy finish. Polishing brings back the gloss. Use a dual-action polisher for the best results, or work by hand on small areas.
Start with a cutting compound to remove the sanding marks. Then switch to a fine polish for depth and shine. Wipe the panel clean between each step.
Finish with wax or sealant. This protects the paint and keeps the shine longer.
Common Wet Sanding Mistakes
Avoid these errors to protect your finish:
- Skipping grits, which leaves deep scratches
- Pressing too hard and sanding through the clear coat
- Letting the surface dry out
- Using dirty water or clogged paper
- Sanding in circles instead of straight lines
Wet Sanding Wood, Plastic, and Fiberglass
Waterproof sandpaper works well beyond cars. On wood, use 400 to 800 grit between finish coats for a silky surface.
For plastic, fiberglass, and headlight restoration, start around 800 grit and finish at 2000 grit. Always test a hidden area first, because each material reacts differently.
Pro Tips for Perfect Results
- Work in the shade on a cool surface.
- Sand small sections, about two feet square.
- Replace paper that feels rough or clogged.
- Take your time. Patience beats pressure.
Final Thoughts
Wet sanding takes a rough or hazy surface to a smooth, even finish when you follow the basics. Choose the right grit, keep the paper and surface wet, use light pressure, and finish with compound and polish. Working through each step in order is what keeps scratches and haze from coming back.
If you want to compare abrasive options before you start, the product information at Abul Fazl is a helpful reference. For questions about which sandpaper suits your specific job, you can also contact our team.
Explore More Practical Guides
- Complete Guide to Sandpaper Types, Grits, and Uses Explained: Learn how to match sandpaper grit and abrasive type to wood, metal, and finishing jobs.
- Understanding Abrasives: What They Are & How to Choose Them: See how material, grit, and bond type affect which abrasive suits your work.
- After Testing 5 Scaffolding Systems, One Stood Out: A hands-on comparison of five scaffolding systems and the one that came out on top.
- Top 9 Scaffolding Safety Inspection Checklist: Nine checks to complete before every use to keep scaffolds stable and compliant.
- Essential Legal Requirements for Scaffolding in UAE: A clear look at UAE rules on scaffold safety, inspections, training, and PPE.